Spring / Spring boot autorestart and autoreload demo in IntelliJ idea using devtools
Requisite:
- Java 1.8
- Gradle
- IntelliJ IDEA
This topic covers the demo on autorestart and autoreload feature when using spring boot dev tools. To enable spring boot dev tools we need to add spring-boot-devtools dependency to the project's build.gradle/ pom.xml. In this example we will use build.gradle.
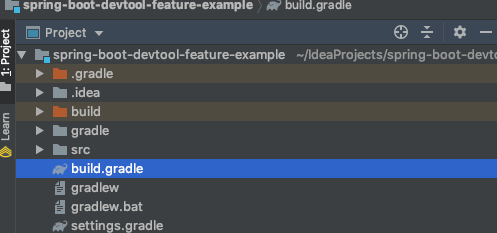
Create a Gradle project in IDEA IDE named 'spring-boot-devtool-feature-example' and edit the build.gradle with the below content.
plugins {
    id 'java'
    id 'org.springframework.boot' version '2.1.6.RELEASE'
}

apply plugin: 'java'
apply plugin: 'io.spring.dependency-management'
group 'net.javapedia'
version '1.0-SNAPSHOT'

sourceCompatibility = 1.8

repositories {
    mavenCentral()
}
configurations {
    developmentOnly
    runtimeClasspath {
        extendsFrom developmentOnly
    }
}
dependencies {
    testCompile group: 'junit', name: 'junit', version: '4.12'
    implementation 'org.springframework.boot:spring-boot-starter-web'
    developmentOnly "org.springframework.boot:spring-boot-devtools"
}
Note that we have added spring-boot-devtools dependency as the developmentOnly dependency to ensure it is enabled only in dev stage as it is not a recommended setting for production. Also, the build.gradle has the web starter dependency to demonstrate auto restarting/auto-reloading of the REST API.
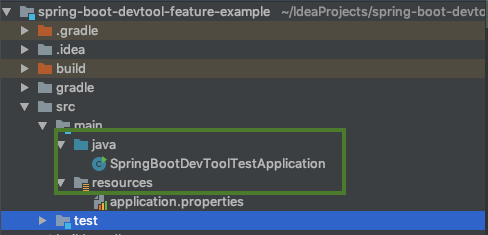
After the build.gradle has been updated, create your Application Main class as shown below.
import org.springframework.boot.SpringApplication;
import org.springframework.boot.autoconfigure.EnableAutoConfiguration;
import org.springframework.web.bind.annotation.RequestMapping;
import org.springframework.web.bind.annotation.RestController;

@RestController
@EnableAutoConfiguration
public class SpringBootDevToolTestApplication {

    @RequestMapping("/test")
    String printName() {
        return "javapedia.net!";
    }

    @RequestMapping("/test/api")
    String getJson() {
        return "javapedia.net api";
    }

    public static void main(String[] args) {
        SpringApplication.run(SpringBootDevToolTestApplication.class, args);
    }
}
Let's experience the auto-restart and auto-reload feature together. Auto-restart feature makes sure the application restarts on code changes while auto-reload reflects the latest changes on the browser. To enable the live-reload at the browser we may need to added browser extensions. In this demo, I have used chrome browser and have already installed the browser extension from http://livereload.com/extensions/.
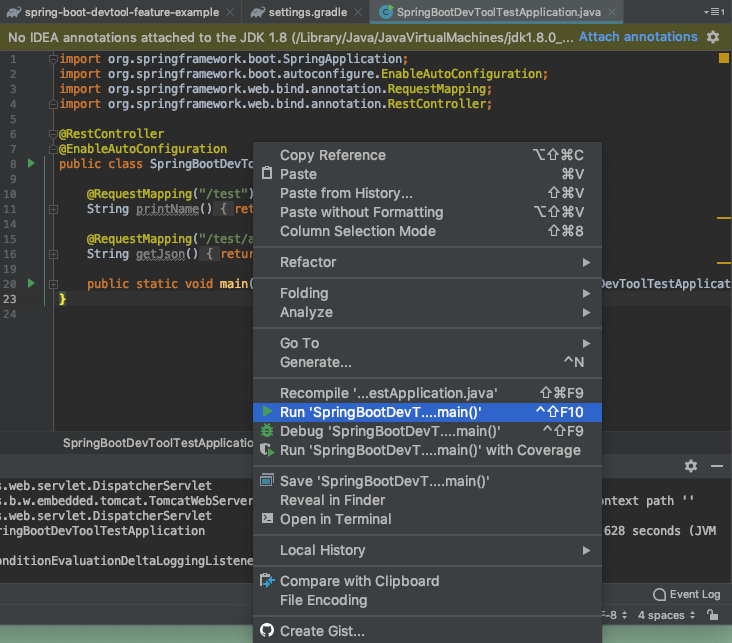
Now run your application by right-clicking on the Application class and select run.
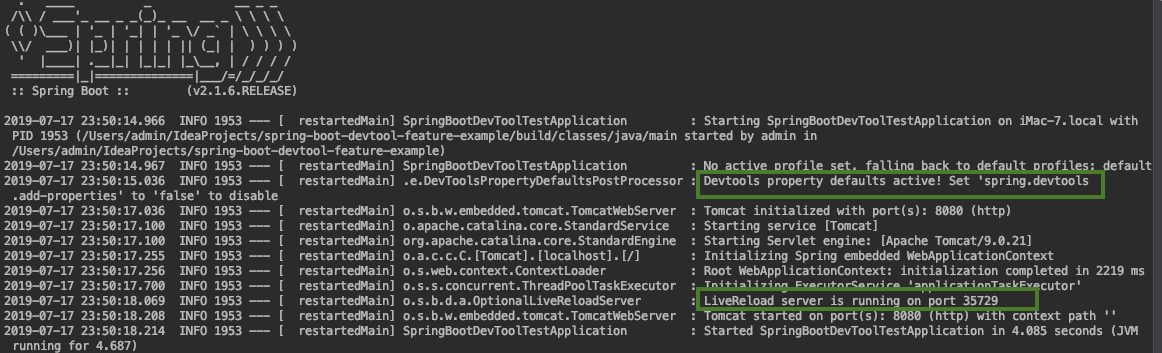
As soon as the application started, in the console, we may notice that dev-tools is active and reload server is running.
Now open the browser and navigate to http://localhost:8080/test. Now we need to enable live reload at the browser by clicking on the browser icon extension. As I mentioned earlier in this topic, I am using Chrome browser and I have already installed the live-reload extension.

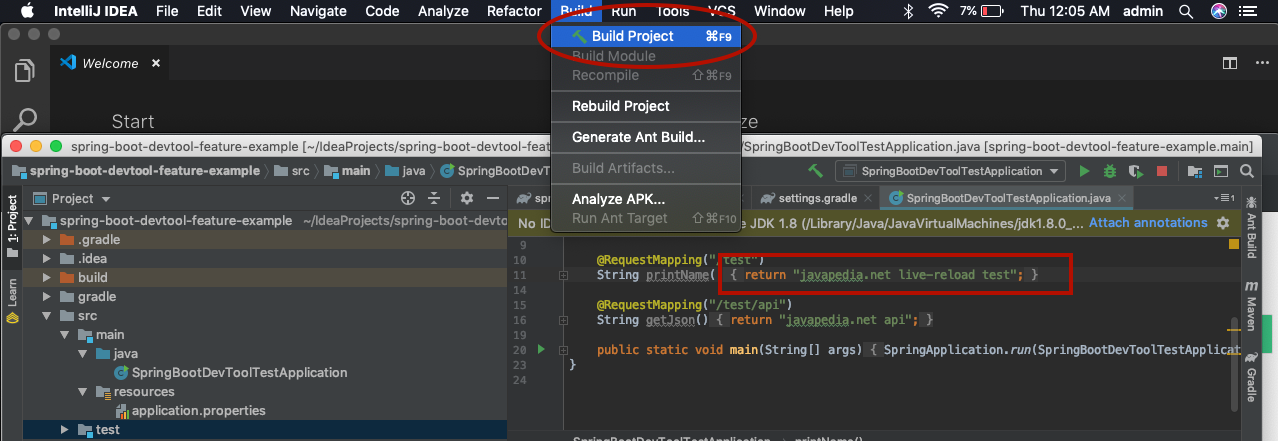
Now do not close the browser tab and go to IDEA IDE to edit the Application class. In this example I am updating the text "javapedia.net" to "javapedia.net live-reload test". Save your class and click on Build->Build project from the menu option.
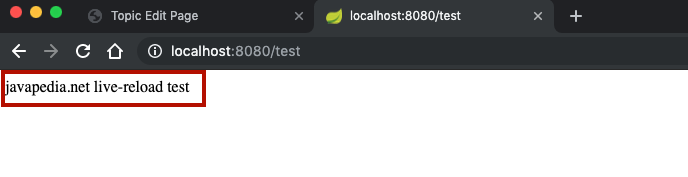
Upon building project, we may notice the application restarts and console pulls new logs. Now go to the browser to see the previously opened page for the URL http://localhost:8080/test. You may notice the text has been updated to "javapedia.net auto-reload test" without any refresh.
Now we see how the application restarted automatically with code change and how the changes reloaded in the browser. Only in IDEA, we need to perform Build project step to auto-restart while in eclipse as soon as we save the changes it restarts given that the change is in the classpath.
Thanks for visiting this topic! Kindly share your valuable feedback and suggestions below. Thanks for your support.
