Spring / Creating simple Spring boot application using Eclipse and Gradle
Requisite:
- Eclipse IDE with buildship for Gradle,
- Gradle 4.4 or later.
Open eclipse and select File from the menu and click on New.
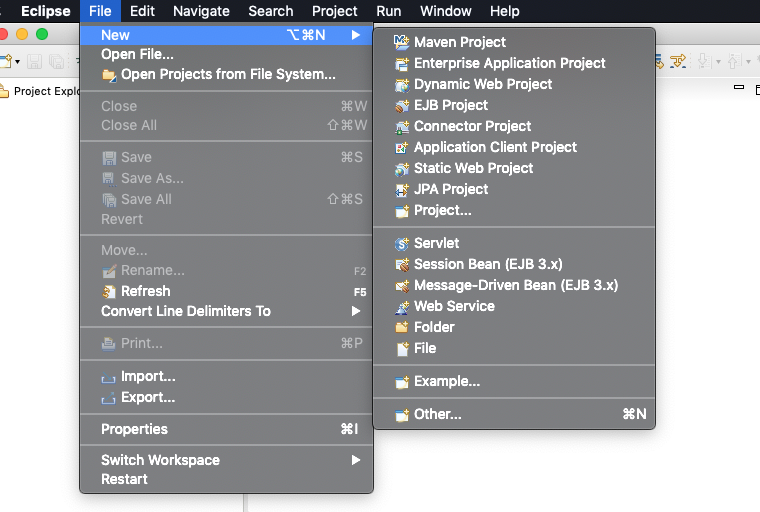
Select Gradle project from the wizard.
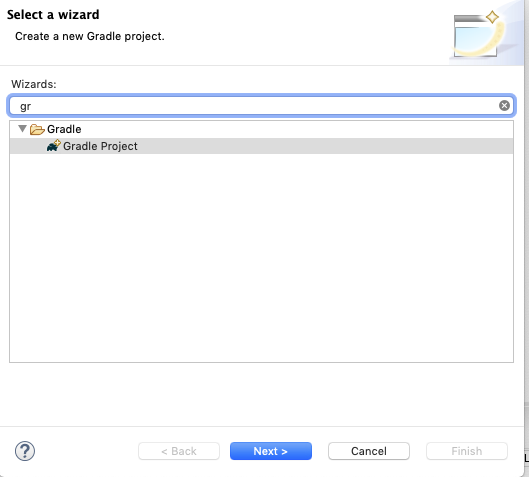
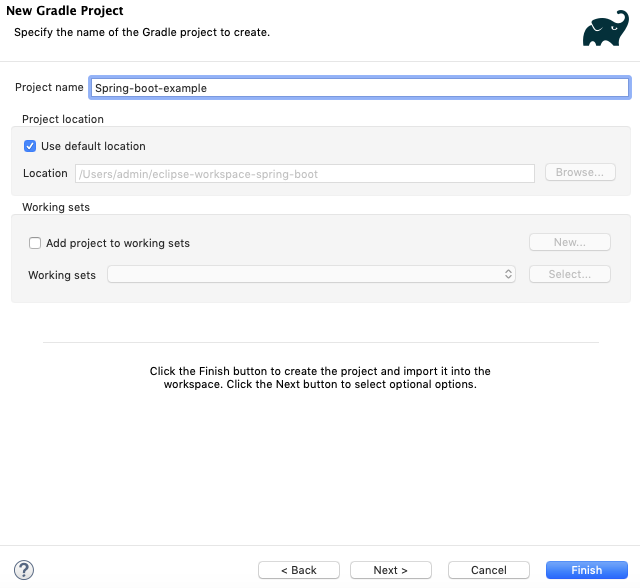
Click Next.
Once the project is created, edit the build.gradle file to include the spring boot dependency.
implementation 'org.springframework.boot:spring-boot-starter-web:2.1.4.RELEASE'
After adding the dependency, your build.gradle file may look like this.
apply plugin: 'java-library'

repositories {
jcenter()
}

dependencies {
api 'org.apache.commons:commons-math3:3.6.1'

implementation 'com.google.guava:guava:23.0'
testImplementation 'junit:junit:4.12'
implementation 'org.springframework.boot:spring-boot-starter-web:2.1.4.RELEASE'
}
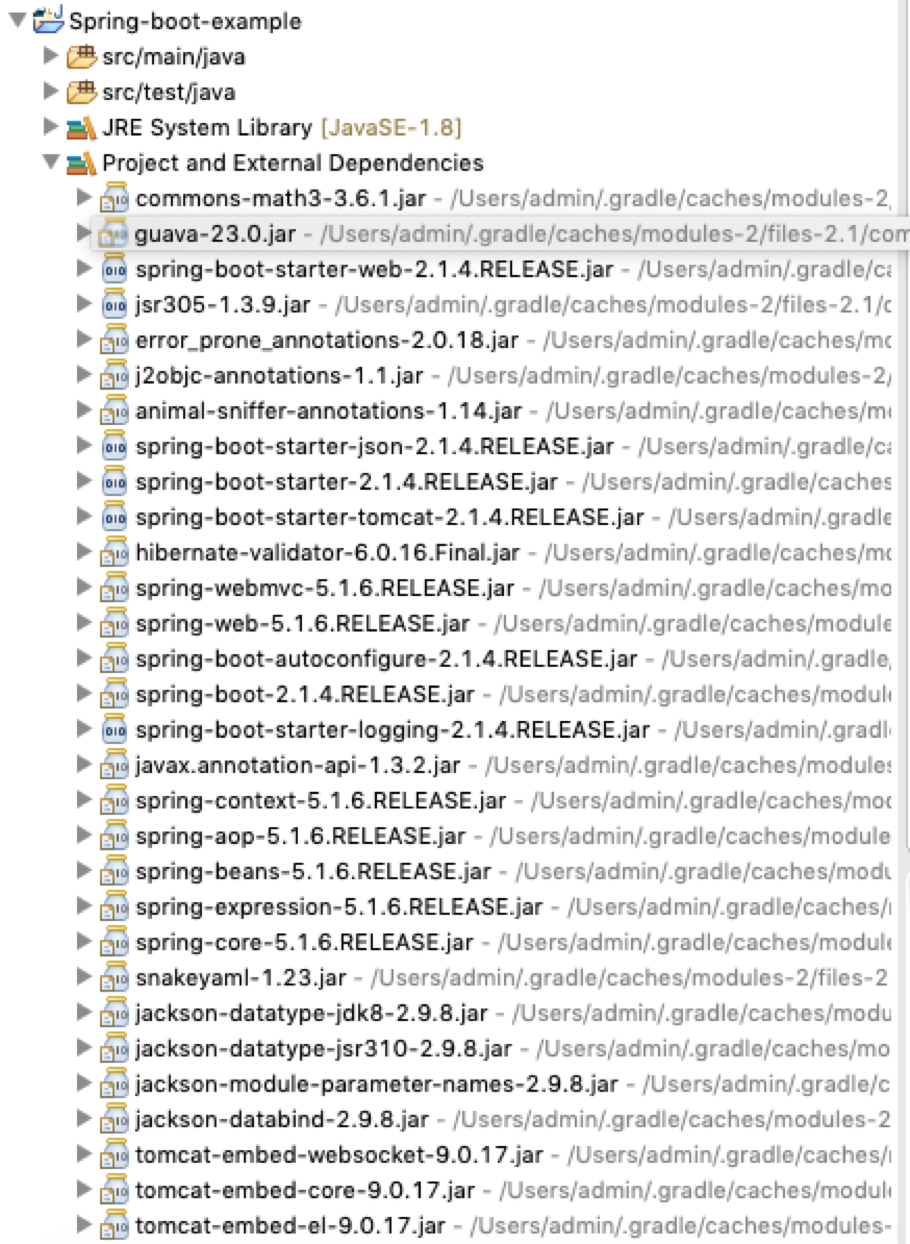
Save the "build.gradle" file and refresh/build the Gradle project to have the dependencies downloaded. Once done, you may see the spring boot jars downloaded and available in the project dependencies.
Create a new Java class SpringBootSimpleExample as shown below.
package net.javapedia.springboot;

import org.springframework.boot.SpringApplication;
import org.springframework.boot.autoconfigure.EnableAutoConfiguration;
import org.springframework.web.bind.annotation.GetMapping;
import org.springframework.web.bind.annotation.RestController;

@RestController
@EnableAutoConfiguration
public class SpringBootSimpleExample {

	@GetMapping("/")
		String index() {
			return "Hello world! Welcome to my page.";
		}

	public static void main(String[] args) {
		SpringApplication.run(SpringBootSimpleExample.class);
	}
}
To run the application, right-click and run as Java application. You may notice the job running and starting the Tomcat embedded container in the log console.

Once you see Started step in the logs, navigate to the browser and go to localhost:8080 URL. You should see the output shown below.

Thanks for visiting this topic! Kindly share your valuable feedback and suggestions below. Thanks for your support.
